DIY Car Paint Repair Step by Step Guide | Touch up paint

However, minor paint cracks on your vehicle can be ugly; the satisfying information is that you needn't bother to be a specialist to fix it. A little persistence and the legitimate equipment will allow you to do DIY car paint repair on your own. This book will walk you through the procedures to save money, get the joy of doing it yourself, and restore the look of your car.
Gather Required Materials:
Compile the required materials before starting. You'll need primer, paint that matches the colour of your automobile, masking tape, sandpaper in various grits, and some clean rags. Work somewhere with good ventilation to avoid breathing in paint and chemical fumes.
Clean The Damaged Area:
Get the injured area well cleaned first. All wax, filth, and grime should be removed using soap and water. Utilising a fresh rag, thoroughly dry the spot. Protect the regions around the damage with masking tape once the surface has been cleaned. This will guarantee you paint just the damaged area and prevent overspray on the areas of your car that are still in good condition.
Protect Surrounding Areas with Masking Tape:
You must next sand the area that is affected. Scrape off any loose paint and corrosion with a coarse grit sandpaper first. To prevent really damaging the surface, sand lightly. Up till the area is smooth, gradually advance to finer grits of sandpaper. Dust it off with a dry, clean cloth.
Sand the Affected Area:
Primer the surface thinly when it is clean and smooth. Paint will stick to the primer more readily, and the colour coat will have a consistent foundation. The manufacturer's instructions provide for letting the primer dry entirely. A professional-looking finish depends on this stage.
Apply Primer:
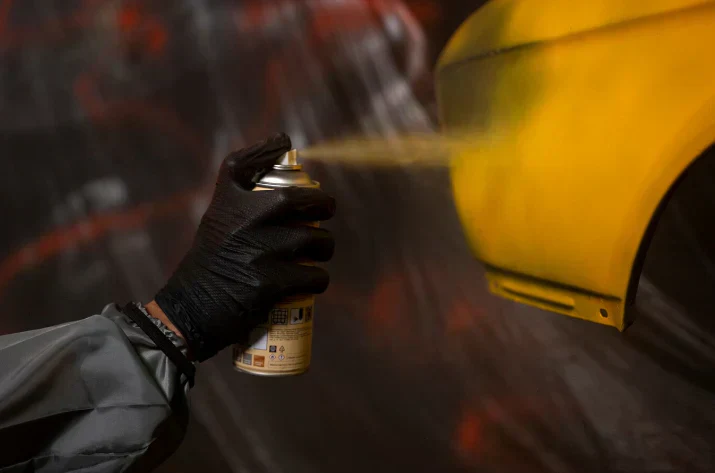
The paint has to be applied now. To fully combine the components, shake the paint vigorously. Holding the can six to eight inches away from the surface, evenly and steadily spray the paint. To stop runs and drips, apply many light layers instead of one thick one. Before adding the next, let each coat dry entirely. Though patience will pay off, this may take some time.
Apply the Paint:
Apply a clear coat to preserve and shine up the fresh paint once the last application has dried. As with the paint, apply a few thin layers of clear coat, DIY car paint repair, letting each one dry before adding the next. The paint will seal, and the clear coat will give a strong, long-lasting finish.
Apply Clear Coat:
When the clear coat has dried, carefully take off the masking tape. To merge the patch with the rest of the car's paint, softly sand any uneven or rough edges with very fine grit sandpaper and then buff the area with a polishing compound.
Remove Masking Tape and Blend Edges:
When you're done, wash and wax the whole automobile. Along with protecting your repair, this will make your automobile look brand-new and gleaming. Keeping your car looking its best and helping to preserve the fresh paint will involve regular waxing.
Final Touches: Wash and Wax the Car:
Restoring the look of your car without having to pay for expensive expert services can be a fulfilling DIY car paint repair job. To get the greatest results, though, you must take your time and carefully follow each step. Minor automobile paint repairs may be done with the correct equipment and a little patience to keep your car looking fantastic.
Conclusion:
Touchuppaint provides a large selection of goods and services to help with automotive paint repairs for individuals who would rather have professional assistance or require specific supplies. We have all you need to maintain your car looking its best, whether you're a do-it-yourself or would rather leave it to the pros.


